10 Simple Solutions for Fixing Low Water Pressure in Your Home
Introduction
Water pressure is important for a comfortable home. It affects activities like showering, doing laundry, and washing dishes. Low water pressure can make these tasks harder and slower.
Common causes of low water pressure include:
- Faulty plumbing fixtures
- Clogged pipes or drains
- Water leaks or damage
- Issues with the municipal water supply
Homeowners can usually fix these problems on their own. Knowing about these issues can help you maintain good water pressure in your home.
1. Understanding Low Water Pressure
To effectively address and resolve low water pressure issues, it’s important to have a clear understanding of what it is and how it can impact your daily activities.
Definition of Low Water Pressure
Low water pressure occurs when the force of water flowing through your pipes is weaker than usual. This can happen in isolated fixtures or throughout the entire home, making tasks like showering or washing dishes frustrating.
Signs of Low Water Pressure
Identifying low water pressure involves noticing specific signs, including:
- Weak or inconsistent flow from faucets and showerheads
- Extended time to fill bathtubs or sinks
- Reduced performance of appliances like dishwashers and washing machines
- Difficulty in running multiple fixtures simultaneously without a significant drop in pressure
Impact of Low Water Pressure on Daily Activities
Low water pressure can have a significant impact on daily life:
- Inconvenience in Performing Household Chores: Cleaning tasks that rely on strong water flow become more time-consuming.
- Reduced Comfort During Showers: A weak shower stream can make it difficult to rinse off soap and shampoo effectively.
- Inefficient Appliance Operation: Appliances that depend on water, such as dishwashers and washing machines, may not function optimally, leading to poor cleaning results.
- Potential Long-Term Damage: Persistent low pressure might indicate underlying plumbing problems that could worsen over time.
Understanding these aspects helps you pinpoint the root cause and take appropriate action to restore optimal water pressure in your home.
2. Common Causes of Low Water Pressure
Low water pressure can disrupt your daily routines and impact the functionality of various home appliances. Understanding the root causes can help you address these issues effectively.
Faulty Plumbing Fixtures
Faulty plumbing fixtures are a frequent cause of low water pressure. Worn-out faucets, valves, or showerheads can restrict water flow. Regular inspections can help identify these issues before they escalate.
Clogged Pipes or Drains
Pipes and drains clogged with debris, mineral buildup, or rust reduce water flow significantly. Over time, this buildup narrows the pipe’s diameter, leading to decreased water pressure.
Water Leaks or Damage
Water leaks are another common culprit. Undetected leaks waste water and reduce pressure throughout your system. Inspecting your home for leaks and fixing them promptly can restore normal water pressure levels.
Municipal Water Supply Problems
Sometimes, the problem might not be within your home but related to the municipal water supply. Maintenance work, pipe bursts, or general supply issues in your area can lead to reduced water pressure. Contacting your local water supplier can provide insights into whether this is affecting your home.
Understanding these common causes of low water pressure helps you pinpoint the specific issue affecting your home, allowing for targeted solutions that restore optimal water flow efficiently.
3. Simple Solutions for Fixing Low Water Pressure
3.1 Checking for Clogged Aerators and Showerheads
Clogged aerators and showerheads are common culprits behind low water pressure. Over time, mineral deposits, sediment, and debris can accumulate in these fixtures, obstructing water flow. Addressing this issue can often result in a significant improvement in water pressure without requiring extensive plumbing work.
Importance of Checking Aerators and Showerheads for Clogs
Clogged aerators and showerheads are common culprits behind low water pressure. Over time, mineral deposits, sediment, and debris can accumulate in these fixtures, obstructing water flow. Addressing this issue can often result in a significant improvement in water pressure without requiring extensive plumbing work.
Step-by-Step Guide to Cleaning or Replacing Clogged Aerators and Showerheads
Cleaning clogged aerators and showerheads is a straightforward process that you can handle with basic tools and household items. Here’s a step-by-step guide:
Tools and Materials Needed:
- Adjustable wrench or pliers
- White vinegar
- A small bowl
- A toothbrush or small brush
- Teflon tape (optional)
- Replacement aerator or showerhead (if necessary)
Steps to Clean Aerators:
- Remove the Aerator:Use an adjustable wrench or pliers to unscrew the aerator from the faucet tip. Be cautious not to damage the aerator’s threads.
- Disassemble the Aerator:Carefully disassemble the aerator components, noting their order for reassembly.
- Soak in Vinegar:Place the aerator parts in a bowl filled with white vinegar. Soak them for at least 30 minutes to dissolve mineral deposits.
- Scrub Clean:Use a toothbrush or small brush to scrub away any remaining debris or deposits.
- Rinse and Reassemble:Rinse all parts thoroughly with water, then reassemble the aerator components in the correct order.
- Reattach the Aerator:Screw the cleaned aerator back onto the faucet tip, ensuring it is securely tightened.
Steps to Clean Showerheads:
- Remove the Showerhead:Unscrew the showerhead from the shower arm using an adjustable wrench if needed.
- Soak in Vinegar:Fill a plastic bag with white vinegar and submerge the showerhead into it. Secure it with a rubber band if you prefer not to remove it entirely.
- Let It Sit:Allow it to soak for several hours or overnight to break down mineral buildup.
- Scrub Clean:Remove the showerhead from the vinegar solution and use a brush to scrub away any loosened debris.
- Rinse Thoroughly:Rinse the showerhead with warm water until all residues are removed.
- Reinstall the Showerhead:Screw the cleaned showerhead back onto the shower arm, using Teflon tape on threads if necessary to prevent leaks.
When Replacement Is Necessary
If cleaning does not restore adequate water pressure, consider purchasing a new aerator or showerhead designed for optimal water flow. Look for products advertised as high-flow or those specifically designed to resist clogging from mineral deposits.
Regularly checking and maintaining your faucets’ aerators and showerheads ensures sustained water pressure over time, enhancing your daily experience without significant expense or effort.
3.2 Clearing Out Debris from Pipes and Drains
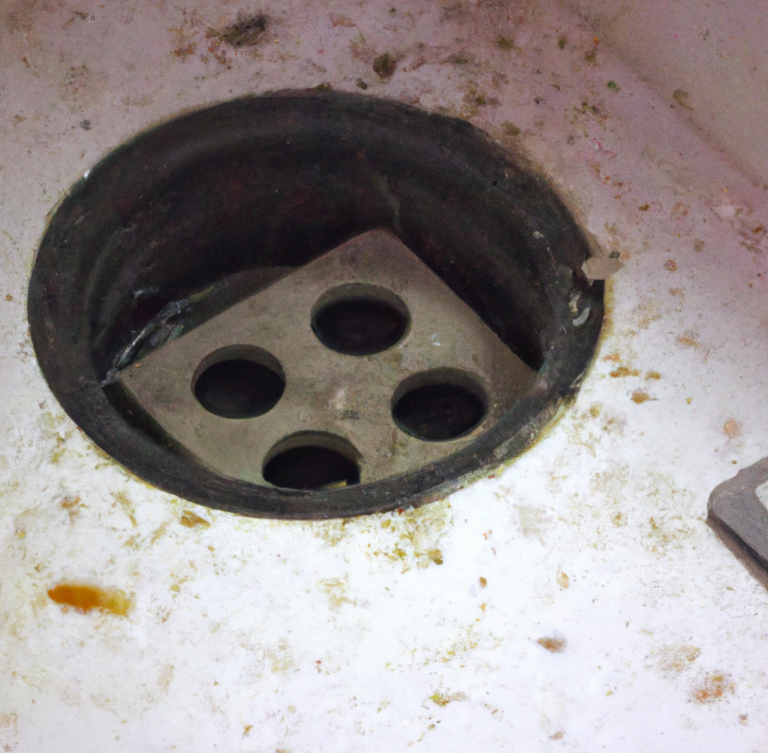
Clearing debris from pipes and drains is essential for maintaining optimal water pressure in your home. Various tools and methods can help you tackle this task effectively.
Tools and Methods:
Here are some tools and methods you can use to clear debris from pipes and drains:
- Plumber’s Snake: A flexible, slender tool designed to navigate through pipes, breaking up clogs and removing debris.
- Hydro Jetting: Using a high-pressure hose to blast water through the pipes, dislodging any blockages.
- Chemical Drain Cleaners: Liquid solutions that dissolve clogs within the pipes. Use these with caution to avoid damaging your plumbing.
Steps to Clear Debris:
Follow these steps to clear debris from your pipes and drains:
- Identify the Affected Area: Determine which pipes or drains are clogged by observing slow drainage or specific fixtures with low water pressure.
- Use the Plumber’s Snake: Insert the snake into the drain, rotating it to capture and pull out debris.
- Hydro Jetting: Attach a hydro jetting hose to a water source and feed it into the pipe, flushing out blockages with high-pressure water.
- Apply Chemical Cleaners: Pour a recommended amount of cleaner into the drain, allowing it to sit and dissolve any obstructions as per instructions.
Precautions:
Take these precautions while clearing out debris from your pipes and drains:
- Wear protective gloves and eyewear when using chemical cleaners or handling debris.
- Avoid using excessive force with tools to prevent pipe damage.
- Consider professional assistance for severe blockages or when unsure about performing these tasks safely.
Regularly clearing out debris ensures that your plumbing system remains efficient, contributing significantly to fixing low water pressure issues in your home.
3.3 Repairing or Replacing Faulty Plumbing Fixtures
Identifying faulty plumbing fixtures is crucial when addressing low water pressure. Signs of faulty fixtures might include visible wear and tear, leaks, or inconsistent water flow. To diagnose, inspect faucets, showerheads, and other plumbing components for any irregularities.
Steps to repair or replace faulty fixtures:
- Turn off the water supply: Ensure the main water valve or the specific valve for the fixture is turned off.
- Disassemble the fixture: Use appropriate tools to carefully take apart the fixture.
- Inspect for damage: Look for worn-out washers, seals, or other damaged parts.
- Repair or replace parts: Replace any damaged components with new ones. If the entire fixture is beyond repair, consider a full replacement.
- Reassemble and test: Put the fixture back together and turn on the water supply to check for improvements in water pressure.
Tips for choosing new plumbing fixtures:
- Quality over cost: Investing in high-quality fixtures can save you from frequent repairs.
- Water efficiency: Opt for fixtures with WaterSense labels to ensure efficiency without compromising pressure.
- Compatibility: Ensure new fixtures are compatible with your existing plumbing system to avoid additional complications.
Regular maintenance checks can help in early detection of issues, ensuring consistent water pressure across all fixtures in your home.
3.4 Addressing Water Leaks and Damage
Fixing low water pressure often begins with identifying water leaks. Low water pressure can be a symptom of hidden leaks in your plumbing system. To detect leaks:
- Check for Visible Signs: Look for wet spots, mold growth, or peeling paint on walls and ceilings.
- Monitor Your Water Meter: Turn off all water fixtures and observe the meter. If it continues to change, there’s likely a leak.
- Use Leak Detection Tools: Devices like acoustic leak detectors can help locate hidden leaks.
Once you’ve identified a leak, it’s crucial to repair it promptly. Small leaks can usually be fixed with simple solutions such as applying pipe tape or using pipe sealants. For more significant issues:
- DIY Repairs: Patching up small holes or replacing worn-out washers.
- Hiring a Professional: For major leaks or if you’re unsure about the repair, hiring a licensed plumber is advisable.
Preventing water damage is essential to maintain consistent water pressure. Regular inspections and immediate repairs prevent extensive damage and costly repairs. Take these steps:
- Regular Inspections: Periodically check your plumbing system for signs of wear and tear.
- Install Water Leak Detectors: These devices alert you to any potential leaks before they cause significant damage.
- Maintain Proper Insulation: Insulate pipes to prevent them from freezing and bursting during cold months.
Addressing water leaks and damage is crucial for sustaining adequate water pressure in your home. It ensures your plumbing system remains efficient and prevents future issues that could lead to low water pressure.
3.5 Checking and Adjusting the Main Water Valve
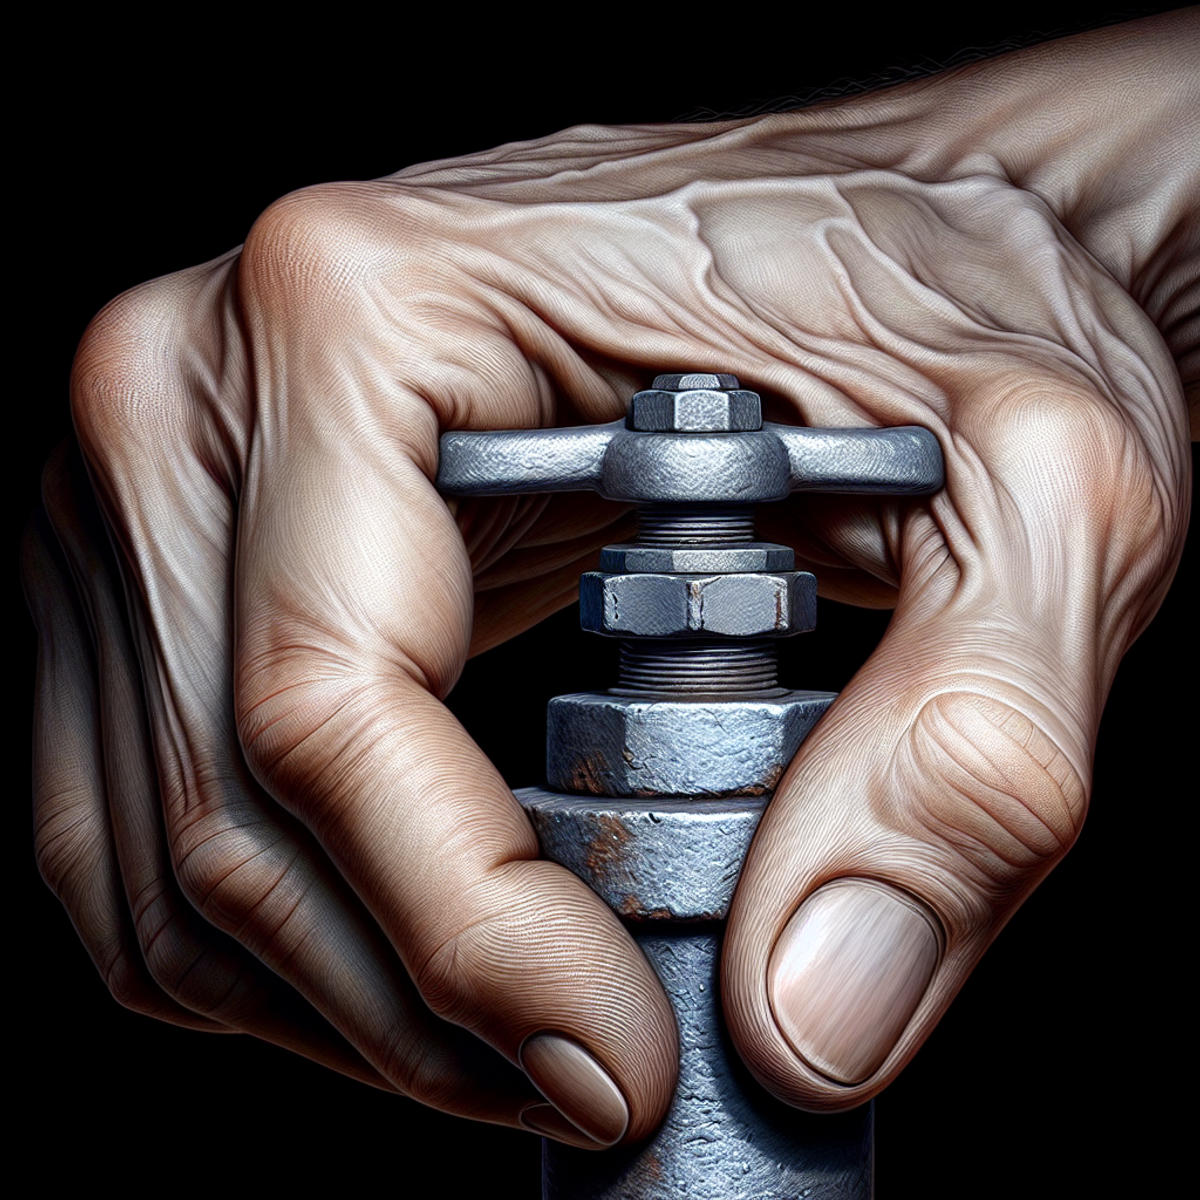
To address low water pressure problems, it’s important to know where the main water valve is located. This valve is usually found where the main water line enters your home, such as in basements, crawl spaces, or near the water meter. It’s essential to identify this valve because it allows you to control the flow of water into your home, which can help resolve pressure issues.
1. Locate the Main Water Valve
Here’s how you can find the main water valve:
- Look for it where the main water line enters your home.
- Check common areas like basements, crawl spaces, or near the water meter.
2. Check and Adjust the Water Pressure Regulator
After locating the main water valve, the next step is to check and adjust the water pressure regulator if necessary. The regulator is typically installed near the main water valve and is responsible for controlling the pressure of water entering your home.
Here’s what you need to do:
- Use a pressure gauge to measure the current pressure.
- The ideal household water pressure should be between 40 and 60 psi.
- If adjustments are needed:
- Turn the adjustment screw on the regulator clockwise to increase the pressure.
- Turn it counterclockwise to decrease the pressure.
3. When to Call a Professional
There are situations when it’s best to seek help from a professional plumber:
- If you’re unsure about locating or adjusting these components.
- When adjustments require specialized knowledge or tools.
- If you’re concerned about causing damage to your plumbing system.
Professional assistance ensures that any necessary adjustments are done safely and effectively without risking further issues with your plumbing system.
By understanding how to locate and adjust the main water valve and pressure regulator, you’re taking a significant step towards resolving low water pressure problems in your home.
4. Prevention and Maintenance Tips for Sustaining Water Pressure
Importance of Regular Inspection of Plumbing System
Regular inspection is crucial in identifying potential issues before they become major problems. Frequent checks can detect small leaks, corrosion, and other signs of wear and tear that may affect water pressure. Early detection helps prevent costly repairs and maintains optimal water flow throughout your home.
Tips for Proper Maintenance of Plumbing Fixtures and Appliances
- Clean Aerators and Showerheads: Regularly clean aerators and showerheads to prevent mineral buildup which can reduce water flow.
- Check for Leaks: Inspect all visible pipes and connections for leaks, as even a small leak can lead to significant water pressure loss.
- Replace Old Fixtures: Consider upgrading old plumbing fixtures with modern, more efficient models to ensure consistent water pressure.
- Water Heater Maintenance: Drain your water heater annually to remove sediment buildup that can impact water pressure.
Advice on Conserving Water to Minimize Strain on the System
Conserving water not only helps the environment but also reduces strain on your plumbing system, helping maintain steady water pressure:
- Install Low-Flow Fixtures: Use low-flow faucets, showerheads, and toilets to reduce water usage without sacrificing performance.
- Fix Leaks Promptly: Address any leaks immediately to avoid wasting water and lowering pressure.
- Smart Watering Practices: Water your garden during cooler parts of the day to minimize evaporation and reduce overall water usage.
By following these prevention tips and maintenance tips, you can ensure your home’s plumbing system remains in good condition, sustaining optimal water pressure.
Conclusion
Addressing low water pressure issues is crucial for maintaining a comfortable and functional home. By understanding the common causes and implementing simple solutions, you can significantly improve your water pressure.
Key actions for homeowners:
- Inspect plumbing fixtures: Regularly check and clean aerators, showerheads, and pipes.
- Repair promptly: Fix leaks and replace faulty fixtures without delay.
- Consult professionals: When necessary, seek expert help to ensure proper adjustments and repairs.
Taking proactive steps not only enhances daily activities but also prevents long-term damage to your plumbing system. These low water pressure solutions empower you to maintain an efficient and reliable water supply in your home.
