DIY Toilet Replacement Made Easy
Before You Begin
1. Gather Your Tools and Materials: Before starting, make sure you have all the necessary tools and materials. This includes a new toilet, wax ring, adjustable wrench, screwdriver, plunger, bucket, and a putty knife.
2. Turn Off the Water Supply: Locate the shut-off valve behind the toilet and turn it clockwise to stop the water supply. Flush the toilet to remove as much water as possible.
Removal of the Old Toilet
3. Disconnect the Water Supply: Use an adjustable wrench to disconnect the water supply line from the bottom of the tank.
4. Remove the Tank: Loosen and remove the nuts securing the tank to the bowl. Carefully lift the tank off and place it in a safe location.
5. Unbolt the Toilet: Remove the nuts securing the toilet to the floor bolts. Gently rock the toilet bowl from side to side to break the seal with the wax ring. Lift the toilet and place it on its side on a piece of cardboard.
6. Remove the Wax Ring: Use a putty knife to scrape off the old wax ring from the flange and the bottom of the toilet. Dispose of the old wax ring properly.
Installing the New Toilet
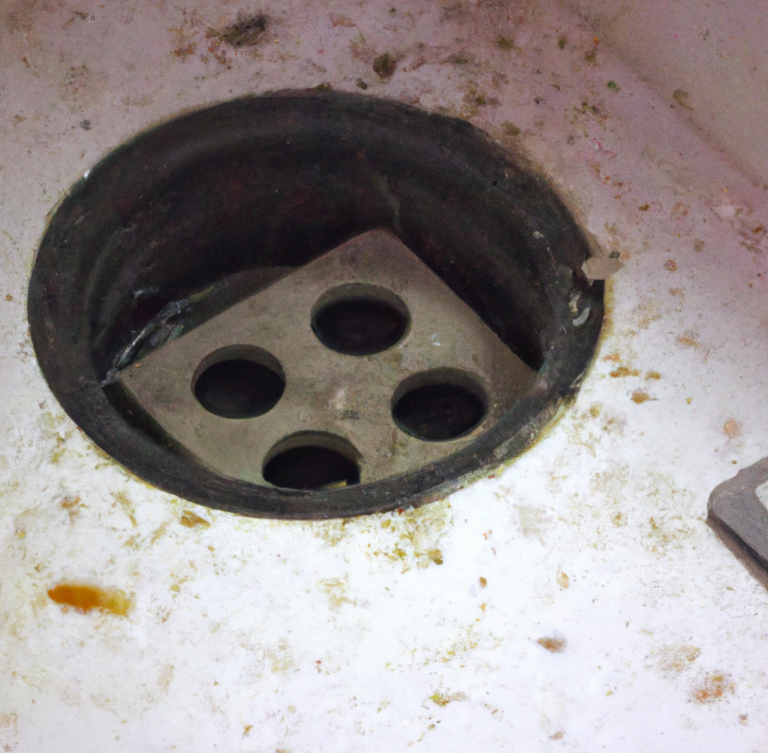
7. Prepare the Area: Clean the flange thoroughly. Check the flange for any damage or corrosion. If needed, replace or repair the flange.
8. Install the New Wax Ring: Place the new wax ring onto the flange. Make sure it is centered and properly seated.
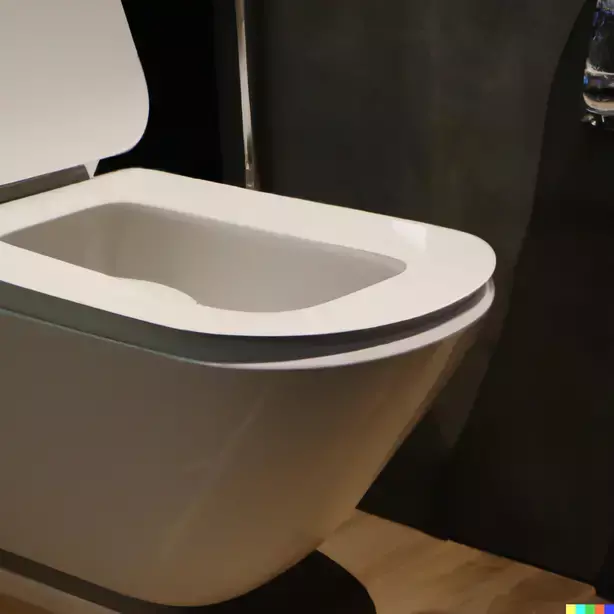
9. Position the New Toilet: Carefully lift the new toilet and position it over the bolts, ensuring they pass through the mounting holes. Press the toilet down to create a good seal with the wax ring.
10. Secure the Toilet: Place washers and nuts onto the bolts and tighten them evenly. Be careful not to overtighten, as this can crack the porcelain.
11. Attach the Tank: Follow the manufacturer’s instructions to attach the tank securely to the bowl. Connect the water supply line and turn on the water supply.
Final Checks
12. Test for Leaks: Flush the toilet and check for any leaks around the base and connections. Tighten connections if necessary.
13. Adjust the Water Level: Adjust the water level in the tank to the recommended level, as per the manufacturer’s instructions.
Conclusion
Congratulations! You’ve successfully replaced your toilet, giving your bathroom a fresh, new look. If you encounter any challenges during the process or if you prefer professional assistance, don’t hesitate to contact Schleman Plumbing for expert advice and support. Enjoy your upgraded bathroom and the efficiency of your new toilet!


