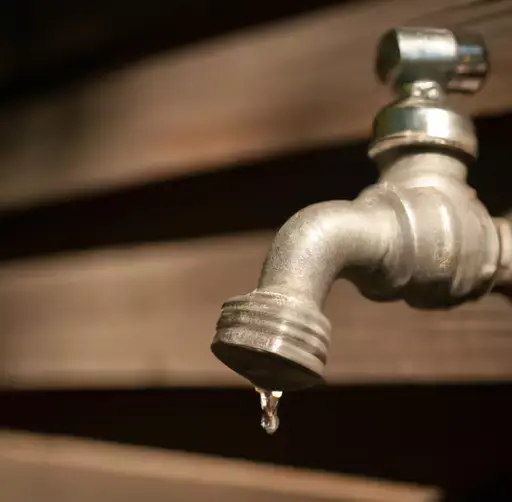
Fixing a Leaky Faucet: DIY Solutions for Homeowners
Discover how to take control of annoying leaks in your home with Schleman Plumbing’s DIY guide on fixing a leaky faucet. Save money and reduce water waste with our step-by-step solutions for homeowners.
Before You Begin
- Gather Your Tools: Grab an adjustable wrench, screwdriver, replacement parts, and a bucket.
- Turn Off Water Supply: Locate the shut-off valve under the sink and turn it clockwise to stop the water supply.
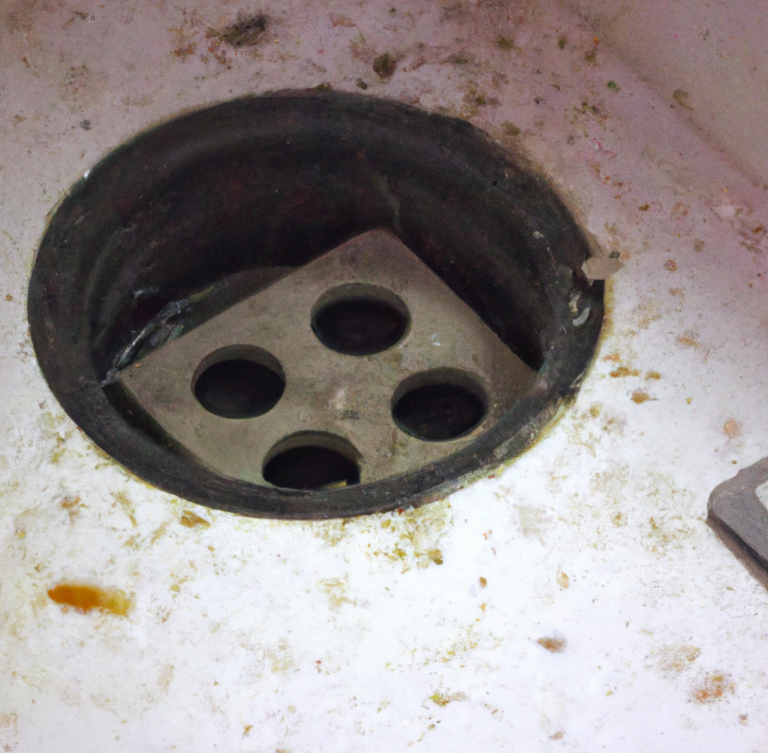
- Plug the Drain: Prevent small parts from falling into the drain by plugging it with a rag or sink stopper.
Fixing a Leaky Faucet
1. Identify the Type of Faucet: Determine if you have a ball, cartridge, ceramic disk, or compression faucet, as each may have a different repair process.
2. Shut Off Water: Turn off the water supply to the faucet. If there’s no shut-off valve, turn off the main water supply to the house.
3. Disassemble the Faucet: Carefully disassemble the faucet, keeping track of the order of parts for reassembly.
4. Inspect and Replace Parts: Inspect O-rings, washers, and other components for damage. Replace any worn-out parts with new ones.
5. Reassemble and Test: Put the faucet back together in the reverse order. Turn on the water supply and test for leaks. Make adjustments as needed.
Final Checks
1. Tighten Connections: Check all connections and tighten any loose nuts or bolts.
2. Test for Leaks: Turn on the faucet and check for any remaining leaks. Make additional adjustments if necessary.
Conclusion
Congratulations! You’ve successfully fixed a leaky faucet with Schleman Plumbing’s DIY guide. For more complex issues or if you prefer professional assistance, don’t hesitate to reach out to Schleman Plumbing. Enjoy a leak-free home and the savings on your water bill.


