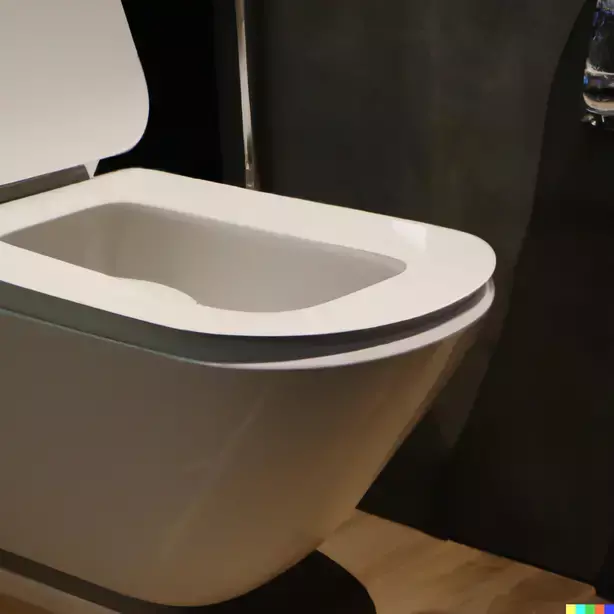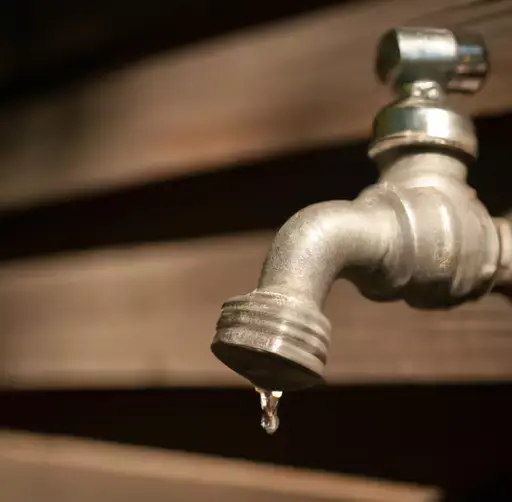
Unclogging Drains: A Step-by-Step DIY Guide
Clogged drains are a common household nuisance, but fear not – Schleman Plumbing is here to guide you through an easy step-by-step process to unclog drains on your own. Save time and money with our DIY guide and restore the flow to your sinks and drains.
Before You Begin
- Gather Your Tools: Before starting, collect a plunger, a plumbing snake, a bucket, and rubber gloves.
- Ensure Safety: Put on protective gear, including safety glasses and gloves, to prevent any splashes.
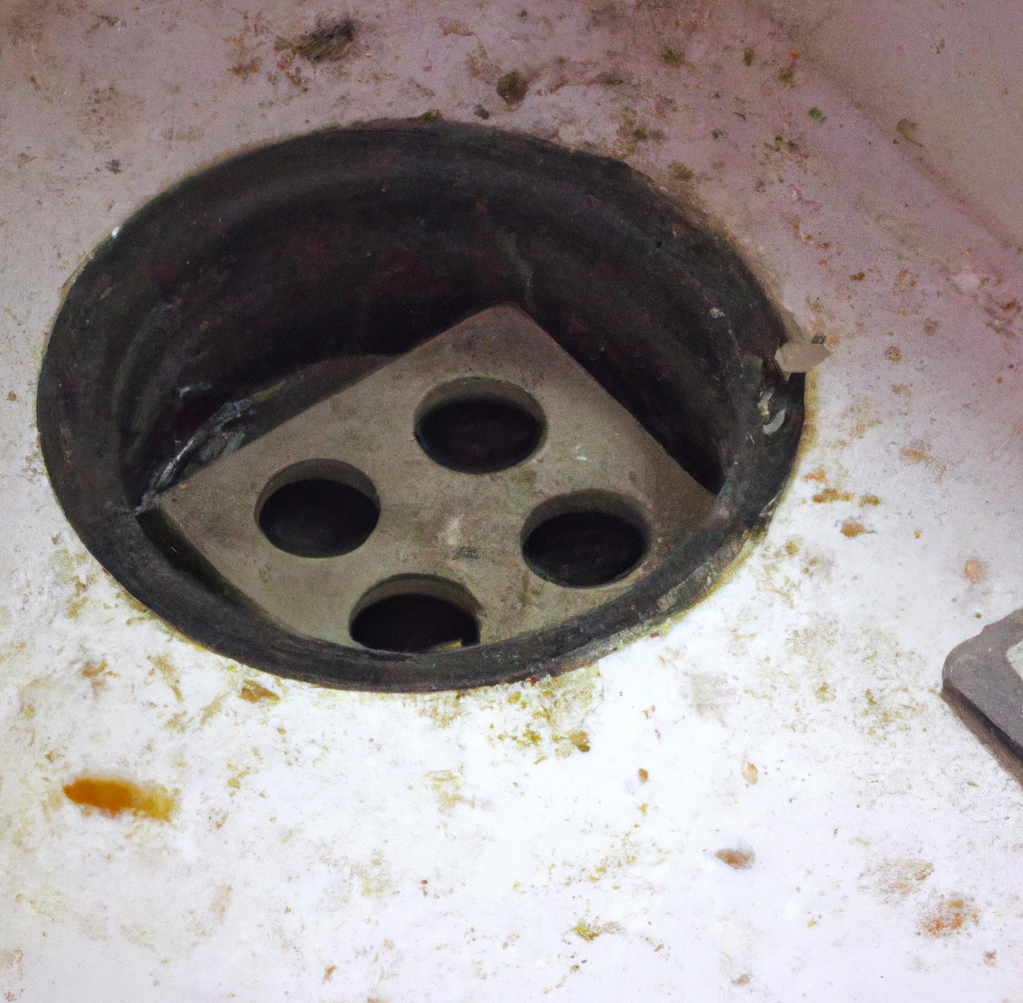
- Remove Excess Water: If there’s standing water, use a bucket to remove as much as possible.
Unclogging with a Plunger
1. Seal the Drain: Place the plunger over the drain and ensure a tight seal.
2. Plunge Up and Down: Use quick, forceful plunges to create pressure and dislodge the clog. Repeat several times.
3. Check for Drainage: After plunging, check if the water starts draining. If not, repeat the process until the clog is cleared.
Unclogging with a Plumbing Snake
1. Insert the Snake: Insert the plumbing snake into the drain until you feel resistance.
2. Rotate the Snake: Rotate the snake handle clockwise to break up the clog. Continue until the snake moves freely.
3. Remove the Snake: Carefully pull out the snake, along with any dislodged debris.
Final Checks
1. Run Water: Turn on the faucet and run hot water to flush away any remaining debris.
2. Test the Drain: Test the drain by allowing water to flow freely. If the problem persists, it may be time to call Schleman Plumbing for professional assistance.
Conclusion
Congratulations! You’ve successfully unclogged your drain using our DIY guide. If you encounter persistent clogs or plumbing issues beyond your expertise, don’t hesitate to reach out to Schleman Plumbing. Our team of experts is ready to assist with residential and commercial plumbing needs in Tampa, Florida.